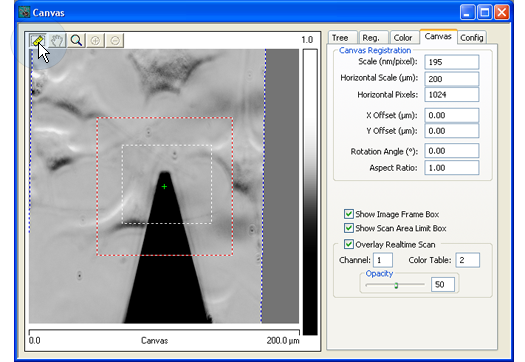
Scanning takes place with any tab active except the Registration Tab. Using the Cursor mode functions with the Registration Tab open will modify the registration image.
A white dashed line encloses the selected scanning area: |
|
|
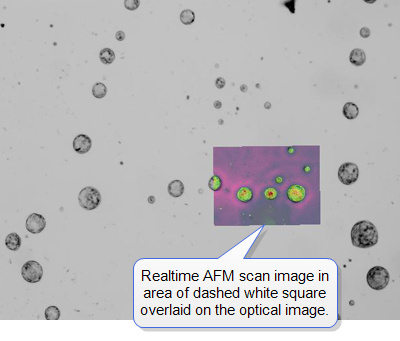
If the tip is not scanning at this location, the tip offset is probably incorrect. Adjust the offset of the optical image and save the resulting registration values (see The Registration Tab). |
|
|
|
|
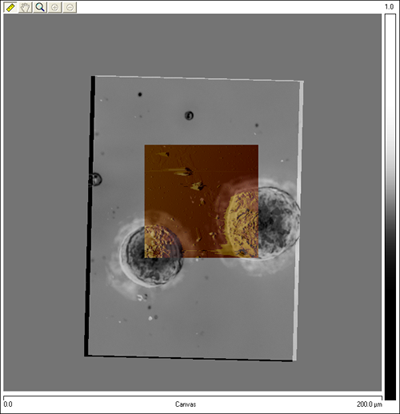
The AFM image will be integrated into the optical image at the end of the current scan: |
| www.bruker.com | Bruker Corporation |
| www.brukerafmprobes.com | 112 Robin Hill Rd. |
| nanoscaleworld.bruker-axs.com/nanoscaleworld/ | Santa Barbara, CA 93117 |
| Customer Support: (800) 873-9750 | |
| Copyright 2010, 2011. All Rights Reserved. |
 Related Topics